
Synthadoc
经 AI Skill Hub 精选评估,Synthadoc 获评「强烈推荐」。这款Agent工作流在功能完整性、社区活跃度和易用性方面表现出色,AI 评分 8.0 分,适合有一定技术背景的用户使用。
📚 深度解析
Synthadoc 工作流的设计遵循"最小配置,最大复用"原则:核心逻辑已经封装好,用户只需配置自己的 API Key 和业务参数即可快速上手。工作流内置错误处理和重试机制,在网络波动或 API 限速等情况下仍能稳定运行,适合作为生产环境的自动化基础设施。
在实际部署时,建议先在测试环境中运行 3-5 次,验证各个环节的输出结果符合预期,再部署到生产环境。AI Skill Hub 评分 8.0 分,是同类 Agent 工作流中的精选推荐。
📋 工具概览
Synthadoc 是一套完整的 AI Agent 自动化工作流方案。通过可视化的节点编排,将复杂的多步骤任务拆解为清晰的自动化流程,实现全程无人值守的智能处理。支持与数百种外部服务和 API 无缝集成,适合构建数据处理管线、业务自动化和 AI 辅助决策系统。
📖 中文文档
Synthadoc 是一套完整的 AI Agent 自动化工作流方案。通过可视化的节点编排,将复杂的多步骤任务拆解为清晰的自动化流程,实现全程无人值守的智能处理。支持与数百种外部服务和 API 无缝集成,适合构建数据处理管线、业务自动化和 AI 辅助决策系统。
- 可视化 Agent 工作流编排,无需编写复杂代码
- 支持多步骤自动化任务链,实现全流程无人值守
- 与外部 API、数据库和第三方服务无缝集成
- 内置错误处理与自动重试机制,保障稳定运行
- 提供可复用的自动化模板,快速在同类场景部署
- 自动化日常重复性工作,将精力集中于创造性任务
- 构建数据采集 → 处理 → 输出的完整自动化管线
- 实现跨平台、跨系统的数据流转和业务协同
# 方式一:pip 安装(推荐)
pip install synthadoc

# 方式二:虚拟环境安装(推荐生产环境)
python -m venv .venv
source .venv/bin/activate  # Windows: .venv\Scripts\activate
pip install synthadoc

# 方式三:从源码安装(获取最新功能)
git clone https://github.com/axoviq-ai/synthadoc
cd synthadoc
pip install -e .

# 验证安装
python -c "import synthadoc; print('安装成功')"
- 访问 GitHub 仓库获取工作流文件
- 在对应平台(Dify / Flowise / Make 等)中找到「导入工作流」功能
- 上传工作流文件
- 按照提示配置必要的环境变量和 API Key
- 运行测试确认流程正常后投入使用
# 命令行使用
synthadoc --help

# 基本用法
synthadoc input_file -o output_file

# Python 代码中调用
import synthadoc

# 示例
result = synthadoc.process("input")
print(result)
# synthadoc 配置文件示例(config.yml)
app:
  name: "synthadoc"
  debug: false
  log_level: "INFO"

# 运行时指定配置文件
synthadoc --config config.yml

# 或通过环境变量配置
export SYNTHADOC_API_KEY="your-key"
export SYNTHADOC_OUTPUT_DIR="./output"
Synthadoc
      .-+###############+-.
    .##                   ##.
   ##    .----.   .----.    ##
  ##    /######\ /######\    ##
  ##    |######| |######|    ##
  ##    | [SD] | | wiki |    ##
  ##    |######| |######|    ##
  ##    \######/ \######/    ##
   ##    '----'   '----'    ##
    '##                   ##'
      '-+###############+-'

       S Y N T H A D O C
    Community Edition  v0.7.0
  ────────────────────────────────
Domain-agnostic LLM wiki engine![]()
![]()
![]()
![]()
Document version: v0.7.0
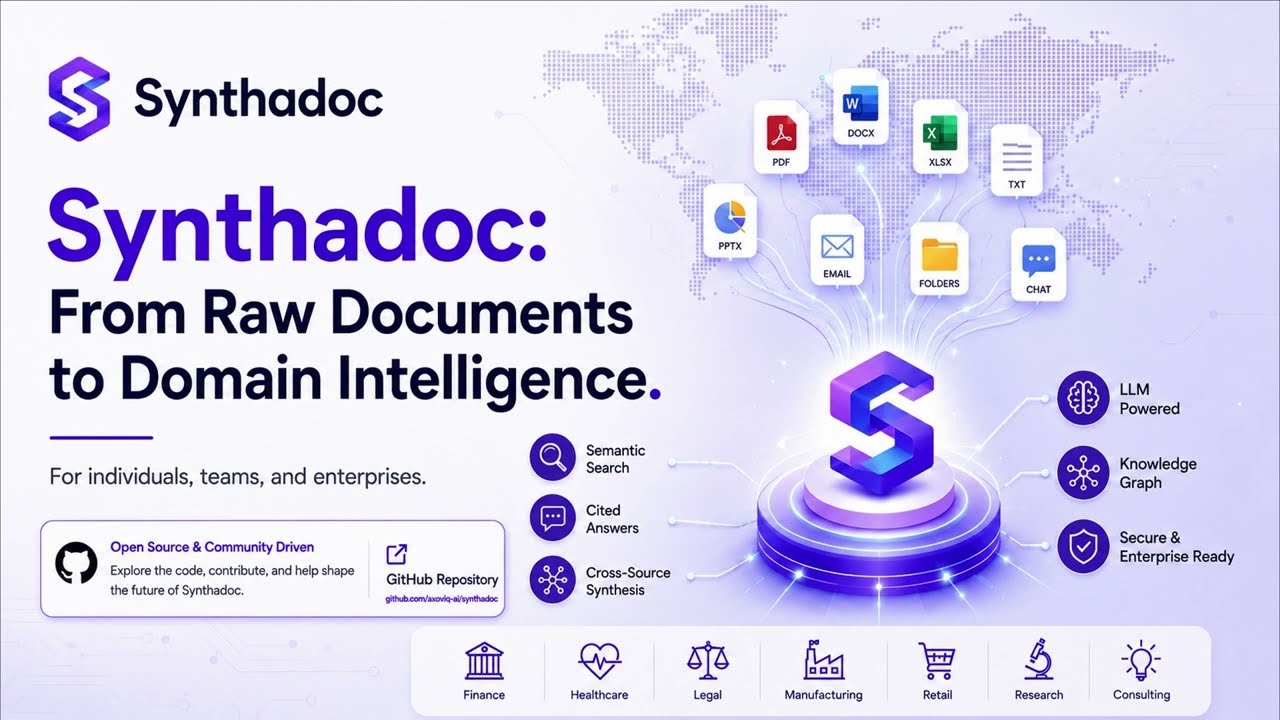
Engineered for solo users and enterprises alike, providing a domain-specific knowledge base that scales seamlessly while maintaining accuracy through autonomous self-optimization.
Built for individuals, small teams, and large organizations who need a knowledge base that stays accurate as documents accumulate.
Synthadoc reads your raw source documents — PDFs, spreadsheets, PPTs, web pages, images, videos, Word files, TXTs — and uses an LLM to synthesize them into a persistent, structured wiki. Cross-references are built automatically, contradictions are detected and surfaced, orphan pages are flagged, and every answer cites its sources. Outputs are stored as local Markdown files, ensuring seamless integration and autonomous management within Obsidian or any wiki-compliant ecosystem.
---
---
What's Included
See docs/design.md — Appendix A: Release Feature Index for a full feature list by version.
---
Prerequisites
| Requirement | Version | Notes |
|---|---|---|
| Python | 3.11+ | |
| Node.js | 18+ | Obsidian plugin build only |
| Git | any | |
| LLM API key | — | At least one required — unless using Claude Code or Opencode (see below) |
| Tavily API key | — | Optional — web search feature only |
LLM API key — at least one required (unless using Claude Code or Opencode — see the last two rows below):
| Provider | Free tier | Vision | Get key |
|---|---|---|---|
| **Gemini Flash** | Yes — 15 RPM / 1M tokens/day, no credit card | Yes | [aistudio.google.com](https://aistudio.google.com/app/apikey) |
| Groq | Yes — rate-limited | No | [console.groq.com](https://console.groq.com/keys) |
| Ollama | Yes — runs locally, no key | Model-dependent | [ollama.com](https://ollama.com) |
| MiniMax | No — pay-per-token | Yes | [platform.minimax.io](https://platform.minimax.io/) |
| DeepSeek | No — pay-per-token (very cheap text rates) | No | [platform.deepseek.com](https://platform.deepseek.com/api_keys) |
| Anthropic | No | Yes | [console.anthropic.com](https://console.anthropic.com/) |
| OpenAI | No | Yes | [platform.openai.com](https://platform.openai.com/api-keys) |
| **Claude Code** | Included with subscription — no API key | No | Setprovider = "claude-code" in config.toml |
| **Opencode** | Included with subscription — no API key | No | Setprovider = "opencode" in config.toml |
Tavily API key (optional — enables web search): Get a free key at tavily.com. Without it, web search jobs will fail but all other features work normally.
---
Set a wiki as the default so -w is not required for any subsequent command
synthadoc use my-wiki
Requires TAVILY_API_KEY to be set.
#
4. LLM-compiled content can be overconfident; Synthadoc audits it
An LLM synthesising source documents naturally produces confident prose — but may overstate claims, omit caveats, or accept a source's framing uncritically. The adversarial lint pass runs a concurrent second-LLM review of every page: it plays devil's advocate to surface issues the primary model accepted too readily — contested estimates, unsupported superlatives, and claims that contradict well-established facts. Warnings are stored in page frontmatter and surfaced in both the CLI report and the Obsidian lint modal. The reviewer is calibrated to flag only high-confidence issues, producing a useful signal without noise. For the strongest signal, point the adversarial pass at a different model family: a distinct model is far more likely to challenge assumptions than the same model reviewing its own output.
Installation
Step 1 — Clone and install
git clone https://github.com/paulmchen/synthadoc.git
cd synthadoc
pip install -e ".[dev]"
If you already have Synthadoc wikis installed, upgrade the Obsidian plugin in all registered wikis to keep them in sync:
synthadoc plugin upgradeStep 6 — Install a demo wiki, then start the engine
A wiki is a self-contained, structured knowledge base — a folder of Markdown pages linked by topic, maintained and cross-referenced automatically by Synthadoc. Think of it as a living document that grows smarter with every source you feed it: each ingest pass adds new pages, updates existing ones, and flags contradictions. For your own work, you can build and grow a domain-specific wiki — whether that's market research, a technical knowledge base, or a team handbook — and query it in plain English or other languages at any time.
A wiki must be installed before the engine can serve it. The fastest way to get started is the History of Computing demo, which ships with 13 pre-built pages and sample source files — no LLM API key required to browse it.
First time — install the demo wiki:
```bash
Install the demo (includes pre-built pages and raw sources — no LLM call needed)
synthadoc install history-of-computing --target ~/wikis --demo
Sync new source files into an existing demo install (additive only, no overwrites)
synthadoc demo sync history-of-computing
Install the Obsidian plugin directly into the active Obsidian vault
synthadoc plugin install history-of-computing ```
Then uninstall — two-step confirmation required, no --yes escape
synthadoc uninstall my-wiki ```
For Obsidian plugin commands see Appendix A — Obsidian Plugin Command Reference in the Quick-Start Guide.
---
Quick-Start Guide
The History of Computing demo includes 13 pre-built pages, raw source files covering clean-merge, contradiction, and orphan scenarios, and a full walkthrough of key Synthadoc feature.
Full step-by-step walkthrough: docs/user-quick-start-guide.md
The guide covers:
- Verify the demo server started (banner, health check)
- Install Dataview in Obsidian
- Install the Synthadoc plugin and open the vault
- Review wiki structure and key files (index, purpose, AGENTS.md, dashboard)
- Query the pre-built wiki — including knowledge gap detection
- Batch ingest all demo source files
- Run lint — auto-promote clean pages to active
- Manage page lifecycle — 5-state machine (draft → active → stale/contradicted/archived), manual transitions, immutable audit trail
- Resolve a contradiction
- Fix an orphan page
- Run the adversarial lint pass — flag overstated claims across all pages
- Web search ingestion with automatic decomposition
- Ingest a YouTube video
- Enrich the wiki with scaffold (regenerate/update index, purpose, AGENTS.md)
- Audit features (token cost, history, events)
- Schedule recurring operations
- Set up query-scoped routing with ROUTING.md
- Stage and review candidate pages before promoting them
- Build a context pack for grounded LLM prompts
- Verify claim provenance — source-line citations, broken citation audit, global provenance table
- Export your wiki — llms.txt, llms-full.txt, GraphML wikilink graph, agent-ready JSON with provenance and lifecycle history
- Use the web chat UI — streaming answers, session-aware hint chips, citations in-browser
- Query caching — understand how answers are cached and how to bypass with
--no-cache
---
Command Reference by Use Case
Example sources.txt:
Token usage: totals + daily breakdown
synthadoc audit cost -w my-wiki # last 30 days synthadoc audit cost --days 7 -w my-wiki # last 7 days
List available demo templates
synthadoc demo list
Configuration
You do not need to configure anything to run the demo. The demo wiki ships with its own settings and sensible built-in defaults cover everything else. Set your API key env var, run synthadoc serve, and go.
For the full configuration reference — layer precedence, global vs. per-project config, all keys and defaults — see Appendix E — Configuration in the Quick-Start Guide, or docs/design.md — Configuration for the complete technical reference.
---
Setting up a wiki
```bash
See docs/design.md § "schedule sub-commands" for the config.toml format
synthadoc schedule apply -w my-wiki
Port is per-wiki — check [server] port in <wiki-root>/.synthadoc/config.toml
~/.synthadoc/config.toml
[observability] exporter = "otlp" otlp_endpoint = "http://localhost:4317" ```
Check for configuration problems
synthadoc status -w my-wiki # prints pre-flight warnings
Step 4 — Set your API keys
At least one LLM API key is required — unless you use Claude Code or Opencode as your provider, in which case no separate API key is needed (see Coding tool CLI providers).
Synthadoc defaults to Gemini Flash as the LLM provider — it's free, requires no credit card, and offers 1 million tokens per day. Get a key at aistudio.google.com/app/apikey (click "Create API key").
Web search uses Tavily (TAVILY_API_KEY) — optional, only needed for synthadoc ingest "search for: …" jobs.
```bash
Create a new empty wiki (LLM scaffold runs automatically if API key is set)
synthadoc install my-wiki --target ~/wikis --domain "Machine Learning"
Start HTTP API + job worker (foreground — terminal stays attached)
synthadoc serve -w my-wiki
YouTube video — transcript extracted automatically, no API key needed.
Open the browser-based chat interface for a wiki
synthadoc web -w my-wiki ```
This opens your browser to a local chat interface at http://localhost:{port}/app. The Web UI is local-only and is not accessible from the network — authentication and authorisation are not yet available in the Community Edition.
The UI detects whether you are new to the wiki, exploring, or a returning user and shows contextual hint chips. Ask questions in the text box; answers stream in as the LLM generates them. Citations appear below each answer; knowledge-gap callouts suggest ingesting more content when the wiki lacks coverage.
Administrative Reference
Step 3 — Test the Obsidian plugin
The pre-built main.js is committed to the repo — you do not need to rebuild it unless you modify the plugin source code. To run the plugin unit tests:
cd obsidian-plugin
npm install
npm test         # runs Vitest unit tests
If you modify src/main.ts, rebuild the bundle before installing:
npm run build # produces main.jsKnowledge gap workflow
When a query returns thin or empty results, the wiki doesn't yet cover the topic. Fill the gap with a targeted web search ingest, wait for jobs, then re-query. Each ingest cycle makes the wiki denser — future queries need the web less.
See docs/design.md — Knowledge gap workflow for the full pattern.
See docs/design.md for a full description of how ingest, contradiction detection, and orphan tracking work under the hood.
---
OpenTelemetry integration
By default, traces and metrics are written to <wiki-root>/.synthadoc/logs/traces.jsonl. To send to any OTLP backend (Jaeger, Grafana Tempo, Honeycomb, Datadog):
```toml
Key differentiators vs. RAG
RAG chunks documents and retrieves them at query time. Synthadoc compiles knowledge: every new source is synthesized into the existing wiki graph at ingest time.
- Contradictions are caught, not blended. When two sources disagree, Synthadoc flags the page — RAG silently averages both claims.
- Knowledge is linked, not scattered.
[[wikilinks]]connect related pages into a navigable graph visible in Obsidian and queryable with Dataview. - The artifact outlives the tool. Close the server, open the wiki folder in any Markdown editor — the knowledge is all there, human-readable, no proprietary format.
- Cost-efficient at scale. Two-step ingest with cached analysis means repeated ingest of similar sources costs near-zero tokens. Three cache layers stack for lint and query too.
- Ingest is durable, not fragile. Every ingest request becomes a queued job with automatic retry and a persistent audit record. Batch a hundred documents and resume after a crash — no work is lost.
---
Bulk-register all jobs declared in [[schedule.jobs]] in config.toml (alternative to schedule add)
Ask a question — answer streams token-by-token as the LLM generates it
synthadoc query "What is Moore's Law?" -w my-wiki
高质量的自动化文档处理工具
⚡ 核心功能
- 可视化 Agent 工作流编排,无需编写复杂代码
- 支持多步骤自动化任务链,实现全流程无人值守
- 与外部 API、数据库和第三方服务无缝集成
- 内置错误处理与自动重试机制,保障稳定运行
- 提供可复用的自动化模板,快速在同类场景部署
👥 适合人群
🎯 使用场景
- 自动化日常重复性工作,将精力集中于创造性任务
- 构建数据采集 → 处理 → 输出的完整自动化管线
- 实现跨平台、跨系统的数据流转和业务协同
⚖️ 优点与不足
- +大幅减少重复性人工操作
- +可视化流程,清晰直观
- +可扩展性强,支持复杂场景
- −初始配置和调试需投入一定时间
- −强依赖外部服务的稳定性
- −复杂场景需具备一定技术基础
该工具使用 AGPL-3.0 协议,商用场景请仔细阅读协议条款,必要时咨询法律意见。
AI Skill Hub 为第三方内容聚合平台,本页面信息基于公开数据整理,不对工具功能和质量作任何法律背书。
建议在沙箱或测试环境中充分验证后,再部署至生产环境,并做好必要的安全评估。
⚠️ AGPL 3.0 — 最严格的 Copyleft,网络服务端使用也需开源,SaaS 使用受限。
🔗 相关工具推荐
❓ 常见问题 FAQ
AI Skill Hub 点评:Synthadoc 的核心功能完整,质量优秀。对于自动化工程师和运维人员来说,这是一个值得纳入个人工具库的选择。建议先在非生产环境试用,再逐步推广。
| 原始名称 | synthadoc |
| 原始描述 | 开源AI工作流:Synthadoc: An open-source LLM knowledge compilation engine that turns raw docume。⭐373 · Python |
| Topics | AILLM知识编译 |
| GitHub | https://github.com/axoviq-ai/synthadoc |
| License | AGPL-3.0 |
| 语言 | Python |
收录时间:2026-06-08 · 更新时间:2026-06-08 · License:AGPL-3.0 · AI Skill Hub 不对第三方内容的准确性作法律背书。